Ice melt is a necessary part of winter, but it can also be expensive. If you’re looking for a cheaper and more environmentally-friendly option, try making your own homemade ice melt! In this comprehensive guide, we’ll answer some common questions about homemade ice melt and provide helpful tips on how to make it. We’ll also discuss the different types of ingredients you can use and the pros and cons of each. So read on to learn everything you need to know about creating your own DIY ice melt!
Salt: The Old Standby
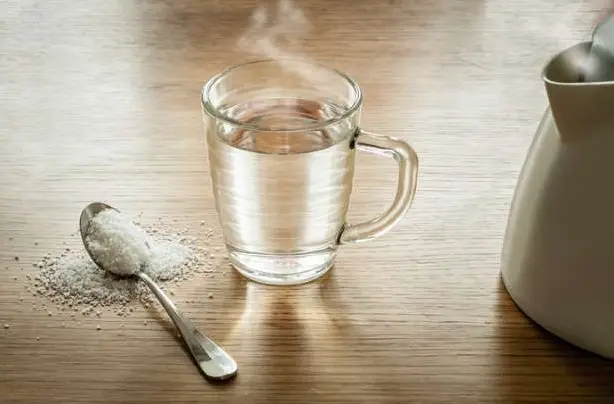
Salt is the most common and most effective ingredient in homemade ice melt. It works by lowering the freezing point of water, which causes ice to melt. You can use any type of salt for this purpose, but rock salt or kosher salt are the most commonly used. The main downside to using salt is that it can be harmful to plants and animals if used in large quantities. It’s also important to note that salt will not work as effectively in very cold temperatures.
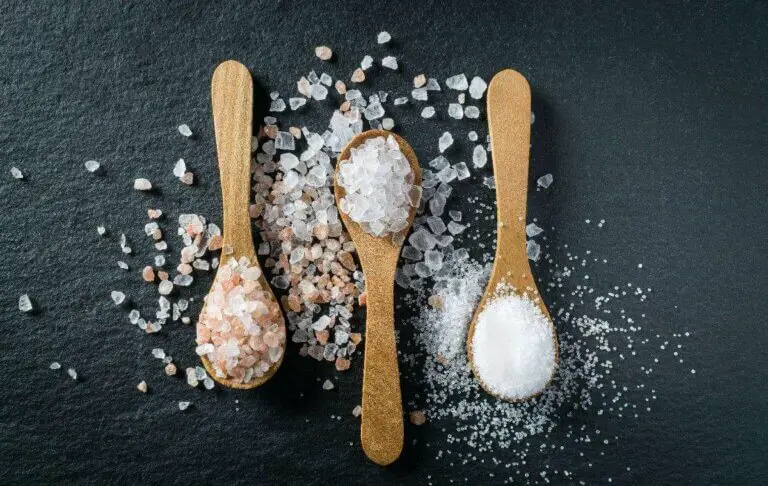
If you decide to use salt as your homemade ice melt, start with a ratio of one part salt to four parts water. You can adjust this ratio depending on how much ice you need to melt and how quickly you need it done. For example, if you’re dealing with a small amount of ice, you can use more salt to speed up the process. If you’re dealing with a large amount of ice or very cold temperatures, you’ll need to use less salt so it doesn’t damage your surfaces.
Once you’ve mixed your salt and water, pour it onto the icy surface and wait for it to work its magic! You may need to reapply every few hours or after each new snowfall.[3]
Drawbacks of Salt as an Ice Melt
While salt is effective in melting ice, it also comes with a few drawbacks. First, salt can be damaging to concrete and asphalt. It’s important to use a deicing product that is safe for your particular type of surface. Second, salt can be harmful to plants and animals. If you have pets or gardens, you’ll want to take care not to damage them with deicing products. Third, salt can be tracked into your home on shoes and clothing, which can be messy and difficult to clean up.[3]
Isopropyl Alcohol: Simple and Efficient
Isopropyl alcohol is a simple yet effective solution for melting ice on your steps and walkways. All you need is a bottle of rubbing alcohol and a spray bottle. Simply fill the spray bottle with the rubbing alcohol and spritz it on the icy areas. The alcohol will quickly melt the ice and make your walkway safe again.
One thing to keep in mind is that rubbing alcohol can damage some surfaces, so be sure to test it on a small area before using it on your entire walkway. You should also take care not to slip on the wet surface after spraying it with rubbing alcohol.[4]
Beet Juice: Ice Melt From the Garden
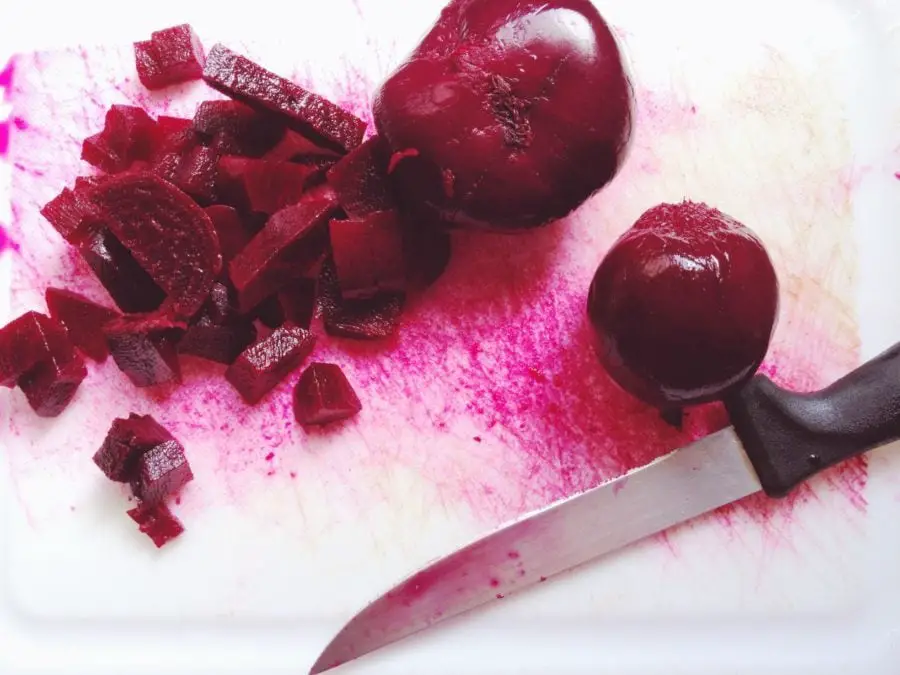
If you have beets in your garden, you can make a natural ice melt by boiling them and adding the resulting juice to water. Boil three to four beets for about 45 minutes, then mash them and strain the juice into a container. For extra effectiveness, add a cup of salt to each gallon of beet juice. This mixture works best when applied before a storm hits.[5]
Vinegar
Vinegar is one of the most popular household items for making homemade ice melt. All you need is a gallon of distilled white vinegar and a container to mix it in. Once you have your mixture, simply pour it onto the affected area and wait for the ice to melt. You may need to reapply vinegar multiple times depending on the severity of the ice. Be careful when using vinegar, as it can damage concrete or stone if used too frequently. If you’re looking for a more natural option, vinegar is definitely the way to go![4]
Basic Deicer
There are a few key ingredients you’ll need for your homemade ice melt. First, you’ll need some sort of salt. This can be regular table salt, epsom salt, rock salt, or any other type of deicing salt. You’ll also need some sort of liquid to help the mixture stick to surfaces and penetrate ice. This can be water, rubbing alcohol, or even vinegar. Finally, you’ll need something to add traction to the mixture so it doesn’t just slip right off the surface. This could be sand, bird seed, or kitty litter.
Now that you have all your ingredients gathered up, it’s time to mix them together! For every two cups of salt, add in one cup of your liquid of choice. Then, add in a half cup of your traction material. Once everything is mixed together well, it’s time to apply it to your icy surfaces!
Once you’ve applied your homemade ice melt, be sure to give yourself plenty of time to clear the area before anyone uses it. This will give the deicer time to work its magic and break down all that ice![5]
Grit
One of the most popular products to use for melting ice is called “grit salt.” Grit salt is a type of rock salt that has been crushed into smaller pieces. It is commonly used on roads and sidewalks to melt ice. It can also be used on steps, walkways, and driveways. While grit salt is effective at melting ice, it can also damage concrete and other surfaces. If you decide to use grit salt, be sure to use it sparingly and only on areas that are not likely to be damaged by it.[2]
Baking soda
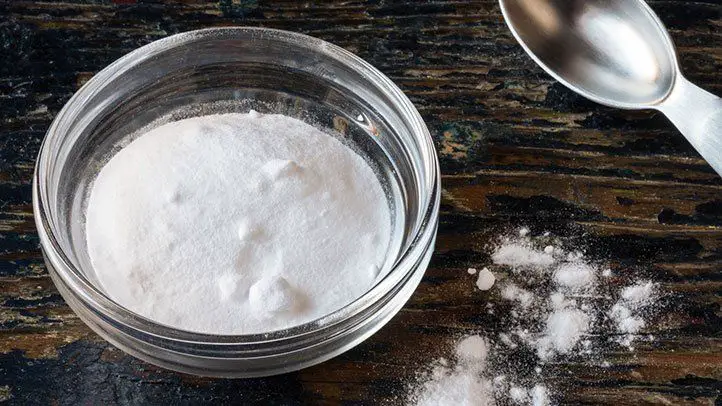
Baking soda is an effective and natural way to melt ice on your steps, walkways, and driveways. All you need is a little bit of baking soda and some hot water. Simply mix the two together and pour it onto the ice. The baking soda will help to break down the ice and make it easier to remove.
Just be sure to use caution when pouring hot water onto baking soda, as it can cause the mixture to foam up and expand rapidly.[1]
Hydrogen Peroxide Ice Melt
If you’re looking for an eco-friendly way to melt the ice on your steps, walkways, and driveway, look no further than hydrogen peroxide! Not only is it environmentally friendly, but it’s also very effective. Here’s everything you need to know about using hydrogen peroxide as an ice melt.
First of all, what is hydrogen peroxide? It’s a clear liquid that is highly reactive and breaks down into water and oxygen when used. This makes it great for melting ice because it quickly turns into water vapor which helps to break down the ice.
When using hydrogen peroxide as an ice melt, be sure to use a higher concentration than you would for other household uses. A concentration of at least 30% is recommended. You can find this at most hardware stores or online.
To use, simply pour the hydrogen peroxide onto the icy surface and let it sit for a few minutes. You’ll then want to brush away any loose ice and then carefully wipe up the area with a damp cloth.
One thing to keep in mind when using hydrogen peroxide is that it can damage some surfaces, so be sure to test it on an inconspicuous area first. It’s also important to wear gloves when handling it as it can irritate your skin.[1]
Sand, Kitty Litter, or Coffee Grounds as an Ice Melt
One of the most common questions we get asked is whether sand, kitty litter, or coffee grounds can be used as an ice melt. The answer is yes! All three of these materials are effective at melting ice and can be used in a pinch if you don’t have any salt on hand.
Here’s how to use each one:
- Sand: Sand is an abrasive material that will help to break up the ice as you walk on it. It’s also great for traction and will help to prevent slips and falls. Just sprinkle a thin layer over the icy area and let it do its work.
- Kitty Litter: Kitty litter is absorbent and will help to soak up moisture, which will in turn help to melt the ice. Just sprinkle a thin layer over the icy area and let it do its work.
- Coffee Grounds: Coffee grounds are acidic and will help to eat away at the ice. Just sprinkle a thin layer over the icy area and let it do its work.[1]
Fertilizer
Fertilizer can be a surprisingly effective deicer. Urea, ammonium sulfate, and ammonium nitrate all work to lower the freezing point of water and prevent ice from forming. When used in conjunction with other products on this list, fertilizer can help you create a homemade ice melt that’s both effective and long-lasting.
To use fertilizer as an ice melt, simply spread it over the surface of the ice. For best results, let the fertilizer sit for a while before clearing away the ice. This will give the fertilizer time to work its magic!
One other word of caution: some fertilizers can be harmful to pets if ingested. If you have pets that spend time outdoors, be sure to choose a pet-friendly fertilizer for your homemade ice melt.[4]
Lukewarm Water
One way to make your own ice melt is to use lukewarm water. Simply combine equal parts of lukewarm water and salt, and then pour the mixture over the icy areas. The warmth of the water will help to break up the ice, while the salt will prevent it from refreezing. You can also add a little dish soap to the mixture, which will help to further break up the ice. Just be sure not to use too much soap, as this can damage concrete and other surfaces.[5]
Pickle Brine
Pickle brine is one of the most effective and inexpensive homemade ice melts. It can be used on concrete, asphalt, and brick surfaces. To use, simply pour pickle brine onto the icy surface and let it work its magic.
One thing to keep in mind with pickle brine is that it will make the surface slick when wet, so be careful when using it on walkways or steps. You may want to consider throwing some sand on top of the pickle brine for added traction.[5]
Cheese Brine
Cheese brine is an effective, all-natural ice melt that you can easily make at home. Simply mix one part salt to eight parts water, and then add in some shredded cheese. The cheese will help the mixture to stick to icy surfaces better. You can also use this homemade ice melt on your steps, walkways, and driveways.[5]
How To Prevent Ice From Forming on Steps, Walkways, and Driveway
There are a few key things you can do to prevent ice from forming on your steps, walkways, and driveway. First, make sure that any snow is removed as soon as possible. Second, apply salt or another deicer to the areas before it snows. Third, use a shovel or snow blower to remove any remaining snow and ice. Finally, consider using heated mats or installing heated driveway systems.[2]
Creating Homemade Ice Melt for Winter Safety
During icy winter months, homemade ice melt solutions can be a cost-effective and environmentally friendly way to keep steps, walkways, and driveways safe for pedestrians and vehicles. Below, we explore the world of homemade ice melt, discussing ingredients, preparation, application, benefits, considerations, and effectiveness to help you make informed decisions for winter maintenance.
| Aspect | Information |
|---|---|
| Ingredients | Common ingredients for homemade ice melt include salt, sand, rubbing alcohol, and even household products like vinegar. |
| Preparation | Recipes vary, but typically involve mixing the chosen ingredients in proper ratios to create an effective solution. |
| Application | Homemade ice melt can be spread manually or using a spreader, ensuring even coverage on icy surfaces. |
| Benefits | Homemade solutions can save money, reduce environmental impact, and offer alternatives to store-bought ice melt. |
| Effectiveness | The effectiveness of homemade ice melt can vary based on ingredients, temperatures, and the severity of ice buildup. |
| Environmental Impact | Homemade options can be more eco-friendly, minimizing the use of harmful chemicals on outdoor surfaces. |
| Considerations | Consider the type of surface, potential damage, and the specific needs of your property when selecting a homemade solution. |
| Storage | Proper storage of homemade ice melt solutions is essential to maintain their effectiveness over time. |
| Cost Comparison | Homemade ice melt solutions can be more cost-effective compared to commercial alternatives. |
| Limitations | Homemade solutions may not perform as well in extreme conditions or heavy ice buildup. |
Explanation of the Table:
- Ingredients: Lists common ingredients used for homemade ice melt solutions.
- Preparation: Describes the process of creating homemade ice melt mixtures.
- Application: Explains how to apply homemade ice melt effectively.
- Benefits: Highlights the advantages of using homemade ice melt solutions.
- Effectiveness: Discusses factors influencing the effectiveness of homemade ice melt.
- Environmental Impact: Explores the eco-friendliness of homemade solutions.
- Considerations: Mentions important factors to consider when selecting a homemade solution.
- Storage: Discusses proper storage to maintain solution effectiveness.
- Cost Comparison: Compares costs between homemade and commercial ice melt options.
- Limitations: Points out potential limitations of homemade solutions.
By understanding the intricacies of homemade ice melt solutions, you can effectively manage icy surfaces while making choices that align with your budget and environmental values.
FAQ
How do you make homemade ice melts?
There are a few different ways that you can make your own homemade ice melts, and the most common method is to use a combination of salt, sand, and calcium chloride. Another popular way to make your own ice melt is to use a mixture of soap shavings and water.
Another method that can be used is to mix together one part rubbing alcohol with two parts water. This creates a solution that will lower the freezing point of water, which will help to prevent ice from forming.
Does Dawn dish soap melt ice?
One common question we get is whether or not dish soap can be used as an ice melt. The answer is yes! Dawn dish soap is effective at melting ice because it lowers the freezing point of water. To use, simply mix a cup of warm water with a quarter-sized amount of Dawn and pour it over the icy area.
What melts ice without damaging concrete?
There are a few things you can use to melt ice on your concrete walkway or driveway without damaging it. One popular choice is rock salt, which you can find at most hardware stores. You’ll want to spread it evenly over the icy surface and then wait for it to work its magic. Another option is calcium chloride, which is a little more expensive but works faster than rock salt. Finally, you could also try using sand, which will provide traction on slippery surfaces and help prevent further ice from forming.
Does vinegar melt ice faster than salt?
Vinegar is a popular choice for melting ice because it is inexpensive and easy to find. You can use white vinegar or apple cider vinegar. Vinegar does work to melt ice, but it works slowly and is not as effective as salt.
If you are looking for a faster-acting solution, salt is a better choice. You can use regular table salt, epsom salt, or rock salt. Salt works by lowering the freezing point of water, which causes the ice to melt.
What kind of salt won’t hurt concrete?
The best kind of salt to use on concrete is calcium chloride. It’s available at most hardware stores and it’s very effective. Be sure to spread it evenly over the concrete surface and give it time to work before you shovel or plow.
Another good choice is magnesium chloride, which is also available at most hardware stores. It works a little slower than calcium chloride, but it’s less likely to damage your concrete.
Finally, you can also use rock salt (sodium chloride). It’s the least expensive option, but it doesn’t work as well in cold weather and it can damage your concrete if used too frequently.
Can I make my own ice melt using household ingredients?
Yes, you can create a homemade ice melt solution using common household ingredients to help melt ice on steps, walkways, and driveways.
What are some effective household ingredients for making homemade ice melt?
Household ingredients like table salt, calcium chloride, rubbing alcohol, and even sugar can be used to create effective homemade ice melt solutions.
How can I make a simple salt-based homemade ice melt?
To make a basic salt-based ice melt, mix table salt with warm water until it dissolves. Apply the solution to icy areas to help accelerate the melting process.
What is the recipe for a homemade ice melt using rubbing alcohol?
You can make a rubbing alcohol-based ice melt by mixing one part water with two parts rubbing alcohol. Spray or pour the solution onto icy surfaces to help melt the ice.
Can I use sugar as an ingredient for homemade ice melt?
Yes, sugar can be used to create a homemade ice melt solution. Mix a small amount of sugar with warm water and apply it to icy areas. The sugar can help lower the freezing point of the water, aiding in melting the ice.
Are there any precautions to consider when using homemade ice melt solutions?
While homemade ice melt solutions can be effective, some ingredients may be less safe for pets, plants, and concrete surfaces. It’s important to test the solution in a small area and use it sparingly to avoid potential damage or harm.
Can I add dish soap to my homemade ice melt solution?
Yes, adding a small amount of dish soap to a homemade ice melt solution can help improve its effectiveness. The soap can help break down the ice and improve the solution’s ability to penetrate the icy surface.
Do homemade ice melt solutions work as well as commercial products?
Homemade ice melt solutions can work reasonably well for light ice and snow removal. However, commercial ice melt products are often formulated with specific ingredients to provide better melting power and protection for surfaces.
What are the benefits of using a homemade ice melt solution?
Using a homemade ice melt solution can be cost-effective and convenient, especially if you have the ingredients readily available at home. It’s a good option for light ice accumulation and when you need a quick solution.
Are there situations where using a homemade ice melt solution may not be suitable?
Homemade ice melt solutions may not be as effective for heavy ice buildup or extremely cold temperatures. In these situations, commercial ice melt products designed for specific conditions may be a better choice.
Useful Video: Homemade Ice Snow Melt DIY for Stairs Driveways
Conclusion
While there are many different ways to melt the ice on your steps, walkways, and driveways, we hope this comprehensive guide has given you some helpful tips and ideas. Be sure to stay safe while removing the ice, and feel free to experiment with different methods until you find the one that works best for you. Thanks for reading!
References
- https://www.homereference.net/homemade-ice-melt/
- https://www.everydaycheapskate.com/diy-homemade-ice-snow-melt/
- https://drillwarrior.com/salt-as-ice-melt/
- https://safepaw.com/best-homemade-ice-melt/
- https://morningchores.com/homemade-ice-melters/