If you have gaps in your hardwood floors, don’t worry – you’re not alone! Many homeowners experience this issue at some point. In this article, we will provide a comprehensive guide on how to fix the gaps and make your floors look beautiful again. We’ll answer some common questions and provide helpful tips on how to caulk the cracks properly. So don’t wait any longer – let’s get started!
Should You Fill Flooring Gaps?
One common question we get is whether or not it’s necessary to fill the gaps in hardwood floors. The answer to this question depends on a few factors, such as the size of the gaps and the style of your home. If the gaps are small, you may not need to worry about them. However, if they’re large or if you have a more traditional home, you may want to consider filling them.
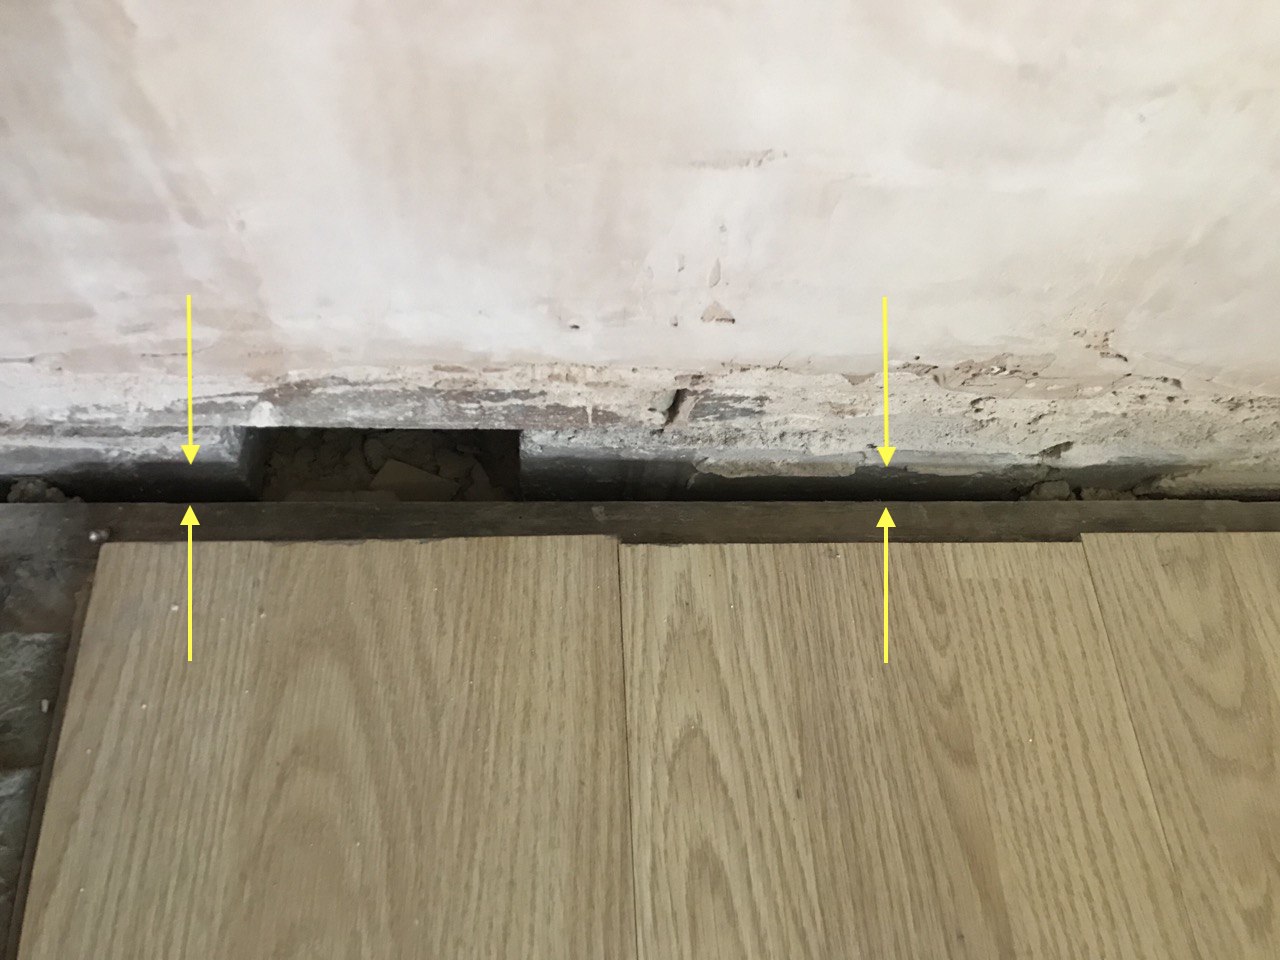
Another factor to consider is how much traffic your floors get. If you have a high traffic area, you may want to fill the gaps to prevent dirt and debris from getting trapped in them. This can be especially important if you have pets that shed.
Finally, it’s also worth considering the aesthetic of your floors. If you’re not happy with the way they look, filling the gaps can help give them a more polished appearance.
No matter what your reasons for wanting to fill flooring gaps, we’re here to help! Keep reading for our step-by-step guide on how to do it.[1]
What You’ll Need
- Caulk gun
- Carpenter’s level
- Tape measure
- Putty knife or old credit card
- Soft cloths or rags
- Mineral spirits (optional)
Before you can caulk the gaps in your hardwood floors, you need to make sure you have the right tools for the job. You’ll need a caulking gun, a carpenter’s level, a tape measure, and either a putty knife or an old credit card. You might also want to have some soft cloths or rags on hand, as well as some mineral spirits (although this is optional). Once you have all of your supplies gathered, you’re ready to start caulking! [1]
Understand What Is Causing the Problem
The first step is to identify what is causing the gaps in your hardwood floors. There are several factors that can contribute to this problem, including:
- humidity: if the air in your home is too dry or too humid, it can cause the wood to expand or contract, leading to gaps.
- age: as hardwood floors age, they naturally start to shrink. This can cause gaps to form between the boards.
- poor installation: if your hardwood floors were not installed correctly, it could lead to gaps forming over time.[2]
Tackle the Moisture Causing Non-Seasonal Gaps
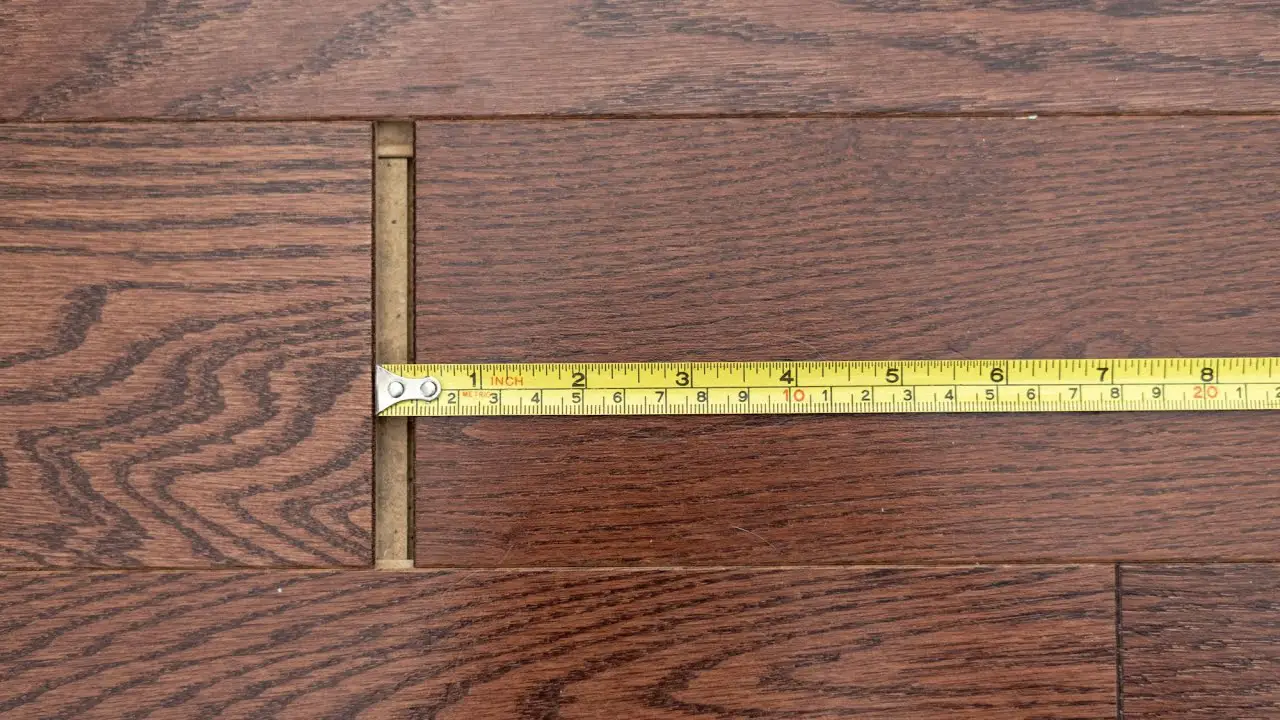
The first step is to identify the source of the moisture. If you have gaps in your hardwood floors that appear during summer humidity or winter dryness, then it’s likely that your home isn’t properly humidified. You can use a hygrometer to measure the relative humidity (RH) in your home and aim for an RH between 30% and 50%.
If you have central air conditioning, you may be able to attach a whole-house humidifier to your furnace blower motor. This will cost around $500-$1000 installed, but will save you money on energy bills and floor repairs in the long run.
You may also need to make some changes to your home’s ventilation system. If you have an exhaust fan in your kitchen or bathroom, make sure it’s vented outside rather than into your attic space.
And if you have a clothes dryer, be sure that it’s properly vented to the outside as well. Improperly venting these appliances can cause excess moisture in your home, which will lead to gaps in your hardwood floors.
Once you’ve tackled the source of moisture, you can move on to filling the gaps themselves.[2]
How to Fill Floorboard Gaps With Wood Strips
Cut the Strips
The first step is to cut the wood strips to size. You’ll want to make them slightly longer than the width of the gap so that they can be wedged in place. Use a hand saw or power tool to make quick work of this task.[1]
Glue the Strips in Place
If the gap is wider than a quarter of an inch, you will need to use strips of wood to fill it. You can find these at any home improvement store. Just make sure they are the same thickness as your flooring.
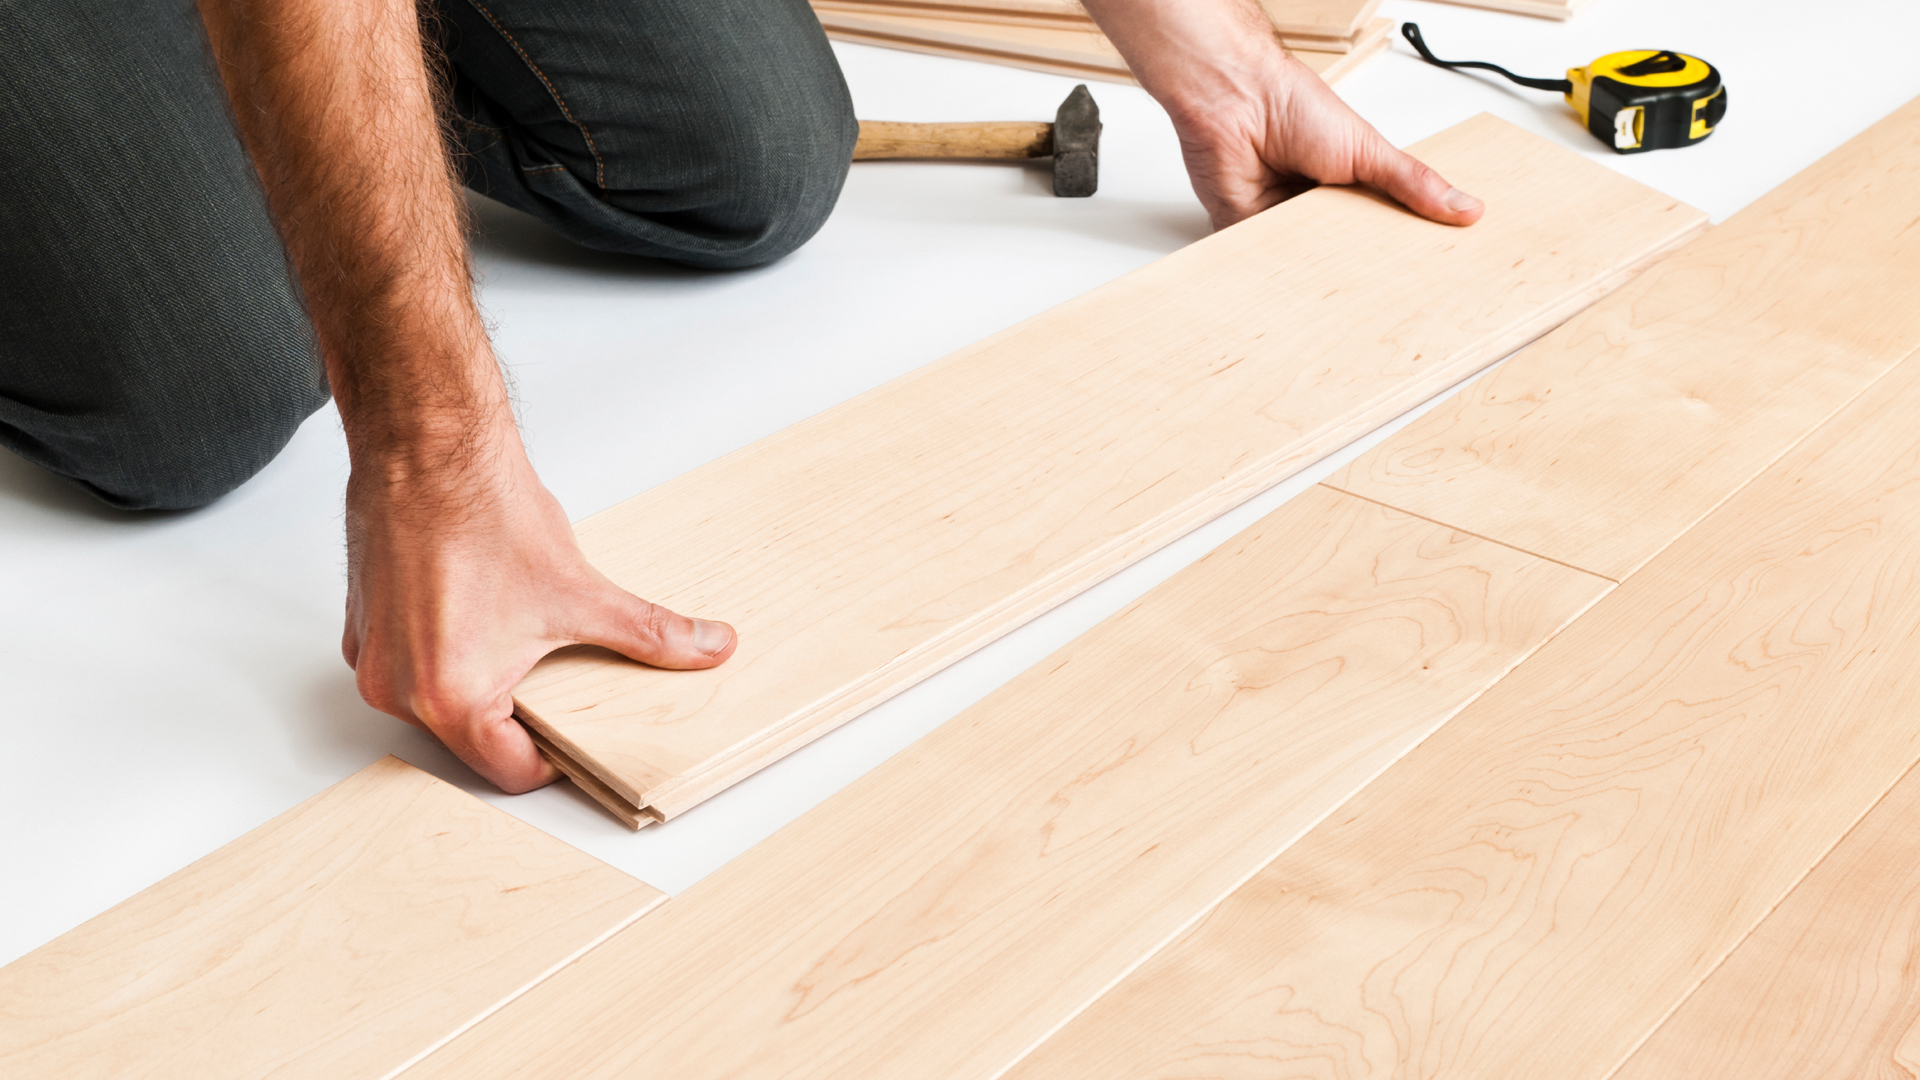
To glue the strips in place, apply a generous amount of wood glue to the back of each strip. Place the strips into the gap, making sure they are level with the surrounding flooring. Use clamps or weights to hold them in place while the glue dries.[1]
Sand and Stain the Strips
If your wood floor is unfinished, you’ll want to sand and stain the strips before nailing them into place. This will give the repair a more finished look.
Use a fine-grit sandpaper to lightly sand the strips. Wipe away any dust with a damp cloth. Then, apply a thin layer of stain with a brush or rag. Wipe away any excess stain with a clean cloth.[1]
How to Fill Floorboard Gaps With Rope
Clean Out the Gaps
The first step is to clean out the gaps. Use a putty knife or another thin, blunt object to scrape out any old caulk, paint, dirt, or debris that might be in the cracks. If the gaps are particularly deep, you may need to use a vacuum cleaner with an attachment to get all of the dirt and debris out.[1]
Stain the Rope
After the rope filler has been applied and dried, it’s time to give it a nice finish. For this, you’ll need to stain the rope filler to match the color of your hardwood floors. You can do this by using a wood stain or a dark paint. Once the rope filler is stained, you can then apply a topcoat of polyurethane to protect it from wear and tear. And that’s it![1]
Fill the Gaps
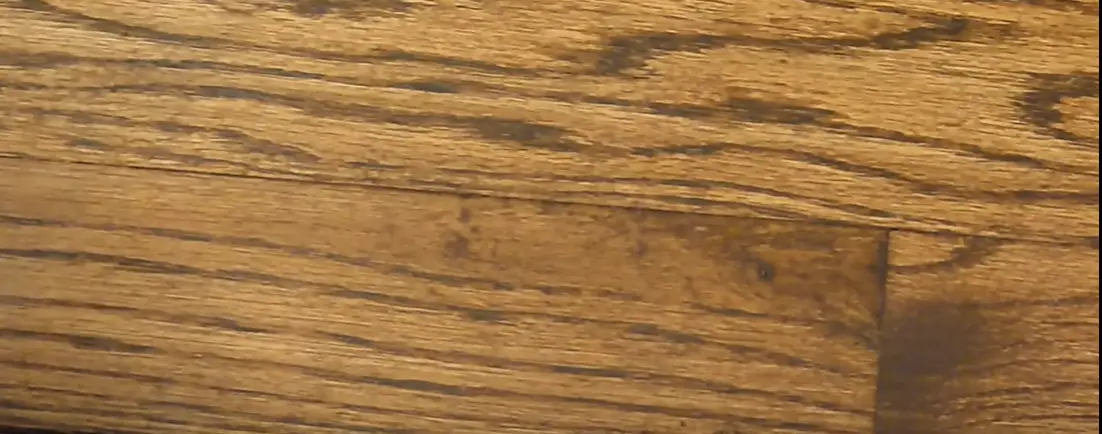
The first step is to fill the gaps with wood filler. You can use a putty knife or your fingers to apply the filler into the cracks. Then, use a wet rag to smooth out the surface of the filler. Allow the filler to dry for at least an hour before proceeding to the next step.
How to Fill Floorboard Gaps With Wood Putty
Clean the Floor
The first step is to clean both the floor and gaps. If the gaps are filled with dirt or dust, the wood putty won’t adhere as well. Use a vacuum cleaner with a brush attachment to remove any debris from the cracks. Then, wipe down the area with a damp cloth to pick up any lingering dirt particles. Let the area dry completely before moving on to the next step.[1]
Apply the Wood Putty
Now that you have the right tools and materials, it’s time to start filling those gaps! Begin by slightly overfilling the gap with wood putty. You can use a putty knife or your finger to apply it, but make sure that you don’t leave any voids. Once the putty is in place, smooth it down so that it’s level with the rest of the flooring.
Let the wood putty dry for at least four hours before sanding it down. You want to make sure that it’s completely dry so that you don’t end up with any raised areas after sanding. To sand down the putty, use a fine-grit sandpaper until the area is flush with the rest of the hardwood flooring.[1]
Clean Up and Let the Putty Dry
Once you’ve finished caulking the gaps in your wood floors, it’s important to clean up any excess putty. Use a putty knife or other sharp object to scrape away any material that is protruding from the crack. You don’t want this extra material to dry, as it will be very difficult to remove later on.
Let the putty dry for at least 24 hours before walking on the floor or moving furniture back into place. This will give the putty time to harden and bond with the flooring material. Once it’s dry, your wood floor should look good as new.[1]
Why You Should Avoid Putty Fillers
Most putty fillers are made from a combination of wood dust and latex binders. While this type of filler is easy to apply and can be sanded smooth, it shrinks as it dries. As the filler shrinks, it pulls away from the edges of the crack, leaving behind a noticeable void.
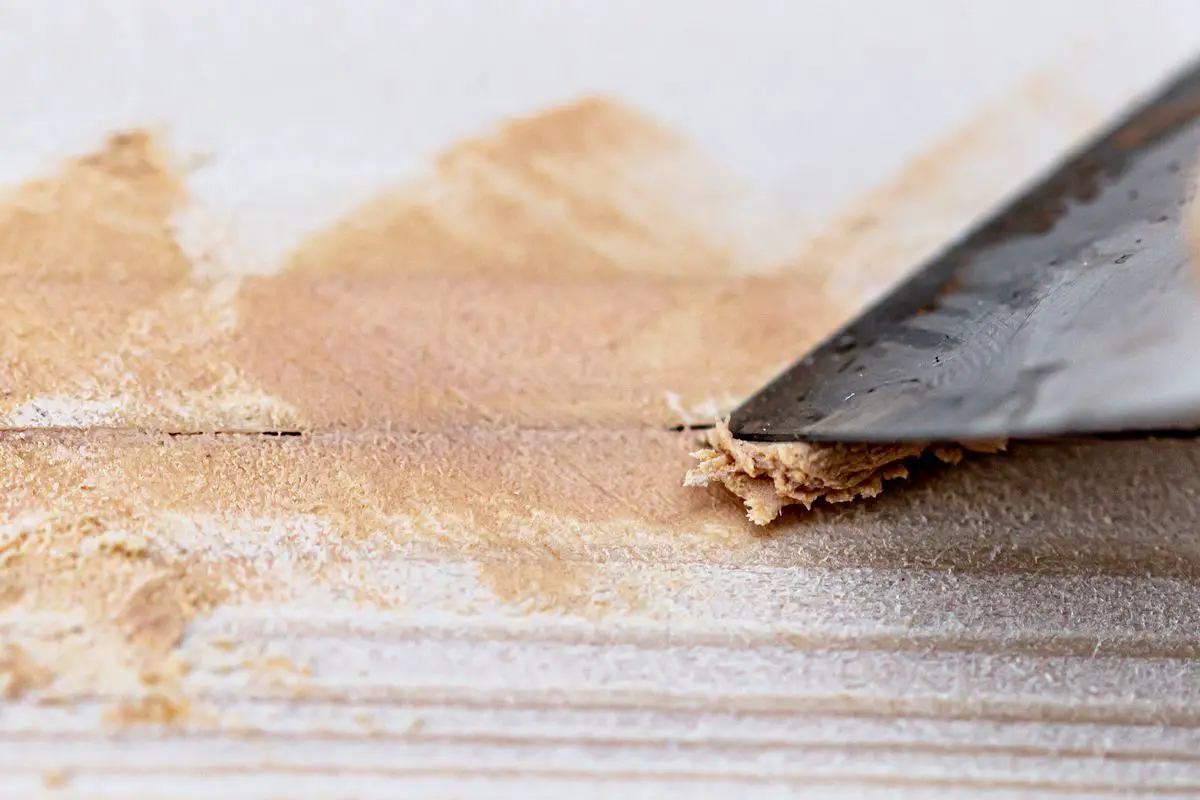
In addition, putty fillers are not very durable. They can easily be scraped or gouged out by pets or furniture. And if you have an active household, they may need to be replaced every few years.
For these reasons, we do not recommend using putty fillers to repair cracks in hardwood floors.[3]
When to Avoid Wood Fillers
There are a few instances where wood fillers aren’t the best option. If your floor is new, for example, you may want to avoid using wood filler as it can cause staining.
If the gap in your hardwood floor is too big, then wood filler probably isn’t going to cut it. In this case, you’ll likely need to replace the boards entirely.
And finally, if the gaps in your hardwood floors are due to moisture or humidity issues, then filling them with wood filler won’t do anything to solve the underlying problem. You’ll need to take steps to correct the moisture issue before filling any gaps.[3]
Wax as Prevention
One way to prevent gaps from forming in your hardwood floors is to fill them with wax. This will not only help to fill any small cracks that may have already formed, but will also act as a barrier against dirt and moisture, both of which can contribute to the formation of gaps.
To fill gaps with wax, simply insert the tip of a candle into the crack and then melt the wax by running a lighter along the length of the candle. Once the wax has melted, use a putty knife or another similar tool to spread it evenly into the crack. Allow the wax to cool and harden before walking on it.
Once the product has dried, it will need to be sanded down so that it is level with the rest of the floor. Be sure to vacuum up any dust created by the sanding process before applying a new coat of finish to the floor.[3]
Flexible Gap Fillers
If your gaps are less than a quarter-inch wide, you can use a flexible gap filler. Flexible gap fillers come in tubes and can be applied with a caulking gun. Be sure to smooth the filler with a putty knife or your finger so it is level with the surface of the floor.
You can also find premixed flexible gap fillers that come in small containers with an applicator tip. These are convenient and easy to use, but they may be more expensive than other options. If you choose this route, apply the filler to the gaps using a zig-zag motion until the gaps are filled. Then, use a damp cloth to wipe away any excess filler. Allow the filler to dry for at least 24 hours before walking on the floor or replacing furniture.
Flexible gap fillers are ideal for small gaps and cracks. They are also easy to apply and can be found at most hardware stores. However, they may not be as durable as other options and may need to be replaced more often.[3]
Pieces of Wood
If you have gaps in your hardwood floors that are larger than a quarter of an inch, you will need to use pieces of wood to fill them. You can either use small strips of wood or shims. If you opt for strips of wood, make sure they are the same thickness as your floorboards. Once you have your strips or shims, place them in the gap and secure them with construction adhesive.
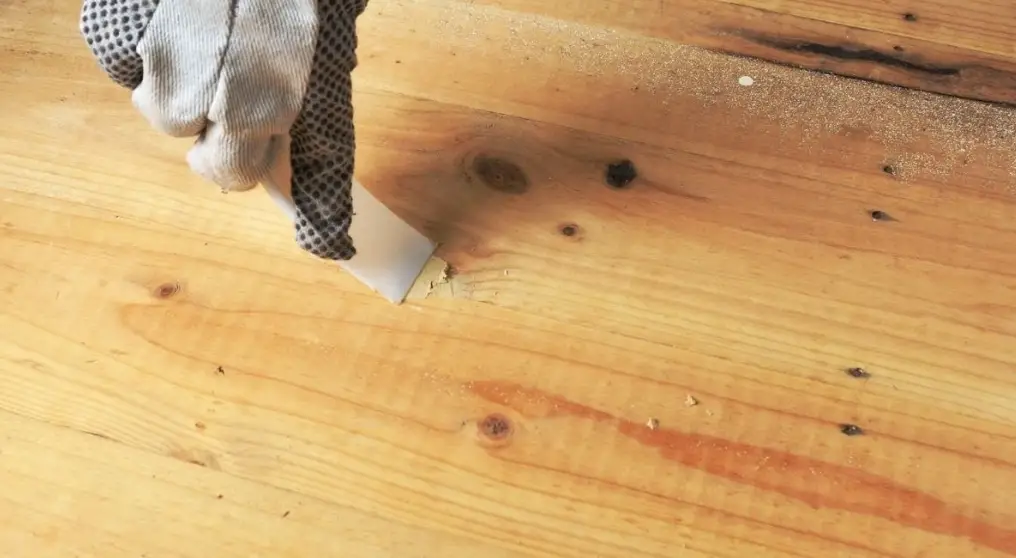
For smaller gaps, caulk is the best option. You can either use latex or silicone-based caulk. If you’re not sure which type to use, ask a sales associate at your local hardware store for help choosing the right product for your needs.[3]
Sawdust and Unfinished Floors
If your floor is unfinished, you’ll want to start by clearing out any sawdust or debris. A good vacuuming should do the trick. Once that’s done, you can begin filling in the gaps with wood filler.
Wood filler comes in two types: putty and epoxy. Putty is best for small gaps, while epoxy is better suited for larger cracks.[3]
Comparison of Methods to Fix Gaps in Hardwood Floors
Addressing gaps in hardwood floors involves various methods and considerations. Below is a comparison of different gap-fixing methods, helping you determine the most suitable approach for your hardwood floors.
| Gap-Fixing Method | Process | Materials Needed | Complexity | Appearance | Durability |
|---|---|---|---|---|---|
| Wood Filler | Filling gaps with a wood filler or putty and sanding the surface for a smooth finish. | Wood filler, putty knife, sandpaper, finish matching the floor. | Low to moderate complexity, suitable for DIY projects with basic skills. | Can achieve a seamless appearance when color-matched with the floor. | Durable for small gaps but may require periodic touch-ups in high-traffic areas. |
| Wood Strips or Shims | Inserting thin wood strips or shims into the gaps and securing them in place. | Wood strips or shims, adhesive, saw, sandpaper, finish matching the floor. | Moderate complexity, suitable for those with basic carpentry skills. | Can blend well with the floor when using matching wood species and finish. | Durable and effective for medium-sized gaps, providing lasting results. |
| Sanding and Refinishing | Sanding the entire floor and refinishing it to eliminate gaps and refresh the appearance. | Sanding equipment, finish matching the floor, staining if desired. | High complexity, typically requiring professional sanding and refinishing services. | Results in a completely uniform appearance with no visible gaps. | Highly durable and long-lasting, providing a like-new floor surface. |
| Humidification | Increasing indoor humidity levels to allow the wood to expand and close gaps naturally. | Humidifier, moisture meter to monitor humidity levels. | Low complexity, but it may take time to see results as wood acclimates. | Preserves the natural appearance of the hardwood floor without fillers or modifications. | Effective for small gaps caused by seasonal humidity fluctuations. |
Explanation of the table:
- The table provides a comparison of different methods to fix gaps in hardwood floors, including the process, materials needed, complexity, appearance, and durability for each method.
- Each gap-fixing method is described, highlighting its unique characteristics and suitability for different types of gaps in hardwood floors.
FAQ
Why are my new hardwood floors separating?
Your new hardwood floors may be separating for a few reasons. The most common reason is that the wood was not properly acclimated to the room before it was installed. If the wood is too dry or too moist, it will contract or expand, causing gaps to form.
Other causes of gaps in hardwood floors include:
- Improper installation
- Excessive humidity or dryness
- Inadequate expansion space around the perimeter of the flooring
- Settling of the house itself
Why do hardwood floors separate in winter?
Most people think that hardwood floors separate in winter because the humidity levels are lower indoors. While this can be a factor, it’s not the primary reason why gaps form between boards. The real culprit is expansion and contraction due to temperature changes. As the temperature drops, the boards contract and pull away from each other, creating gaps. In the summer, when temperatures rise again, the boards expand and fill in those gaps.
What is the best time of year to install hardwood floors?
The best time to install hardwood floors is in the fall or winter. This is because the humidity levels are lower and the temperature is cooler, which helps to prevent gaps in the wood.
What is hardwood floor cupping?
Hardwood floor cupping is a condition where the edges of your hardwood boards start to curl up. This can happen for a number of reasons, including changes in humidity levels and improper installation. Cupped floors are more likely to trap dirt and dust, which can lead to long-term damage if not fixed.
There are a few ways to fix cupped hardwood floors, but the most effective method is to use a product called Bostik’s Best Adhesive Caulk. This caulk is designed specifically for hardwood floors and it will create a strong bond that will keep your boards from moving.
What causes gaps to appear in hardwood floors, and how can they be fixed?
Gaps in hardwood floors can occur due to fluctuations in humidity and temperature. To fix them, you can use wood filler, fill gaps with rope or filler strips, replace individual boards, or consider humidifying or dehumidifying your home to maintain stable conditions.
Is it possible to prevent gaps from forming in hardwood floors in the first place?
Preventing gaps in hardwood floors involves maintaining consistent indoor humidity levels, acclimating the wood properly before installation, and using high-quality installation materials and techniques. Proper care and maintenance can also help minimize the risk of gaps developing.
What types of wood filler or gap-filling products are suitable for fixing hardwood floor gaps?
For fixing hardwood floor gaps, you can use wood filler, latex-based gap fillers, or epoxy fillers. The choice depends on the size of the gap, the type of wood, and the aesthetic preferences. Be sure to follow manufacturer recommendations for the specific product you choose.
Are there any DIY methods to fix small gaps in hardwood floors without professional assistance?
Yes, there are DIY methods to fix small gaps in hardwood floors. These methods may include using wood filler, rope or filler strips, and applying the appropriate finish to blend the repair with the surrounding floor. However, for larger gaps or extensive repairs, it’s advisable to seek professional assistance.
When should you consider hiring a professional to repair gaps in hardwood floors?
You should consider hiring a professional to repair gaps in hardwood floors when the gaps are extensive, the flooring is severely damaged, or when you’re unsure about the most suitable repair method. Professionals have the expertise and tools to address complex issues and ensure a high-quality result.
Useful Video: Fixing a gap in your hardwood floor
Conclusion
So, there you have it! These are the most common ways to fill gaps in hardwood floors. We hope this article was helpful and that you now feel more confident tackling this repair project in your home. As always, if you have any questions or need assistance, our team at Hardwood Flooring Pros is happy to help. Give us a call or send us an email today!
We wish you all the best with your hardwood floor repairs! Thank you for reading.
References
- https://www.thespruce.com/how-to-repair-gaps-between-floorboards-1821671
- https://www.floorsbytheshore.com/gaps-hardwood-floors-after-installation/
- https://www.homereference.net/gaps-in-hardwood-floors/






Leave a Reply